

What do many of the songs on Daft Punk’s album Discovery, Led Zeppelin’s song “Kashmir” have in common? They all heavily rely on a modulation effect known as the “phaser.”
Welcome back to my mini-series on modulation effects. In the last two editions we covered the chorus and the flanger—two classic modulation effects that have been around since the 1950s, and now are popular guitar effect pedals and come integrated into any major DAW.
The phaser is the newest addition, at least historically speaking, to these classic modulation effects. But before we delve into how the phaser came into being, let’s first get a sense of what it sounds like.
Here’s a sample of a string quartet taken from the Apple Loops Library, with no effects added:
And here’s that same sample with a phaser effect applied:
You’ll notice that the sounds more spacey, and robotic. It also has a strong sense of pitch modulation, which gives it a similar characteristic to a flanger. And this is no coincidence since the histories of these two plug-ins is intertwined.
Phasing? Flanging? What’s the Difference Even
In the 1960s, the flanger effect became a novelty, featured in songs like Toni Fisher's “The Big Hurt” (1959) and the drum breakdowns of the Small Faces' “Itchycoo Park” (1967).
Recording engineer William Wittman noted that in the 1960s, the flanging effect was initially known as “tape phasing.” The terms “flanging” and “phasing” were used interchangeably to describe the comb-filtering effect that occurred when two signals moved slightly in and out of phase with each other.
However, achieving this effect was cumbersome: it was an effect exclusively attainable in a music studio, requiring expensive equipment, two reel-to-reel tape machines, and a tape operator to induce the delay time. This made the effect relatively uncontrollable and difficult to induce with any reliable precision.
To make this popular effect more accessible, the New York-based electronics company Eventide released a rack unit called the Instant Phaser in 1971. This unit made the tape phasing effect more convenient, controllable, and widely available.

The Instant Phaser featured four principal methods of control:
Remote Input: Controlled the effect via a control voltage or resistance source.
Low-Frequency Oscillator (LFO): Included a knob to control the rate.
Manual Dial: Allowed setting the degree of phase shift in the modulated signal.
Envelope Follower: Controlled the phasing effect via the amplitude of the incoming signal.
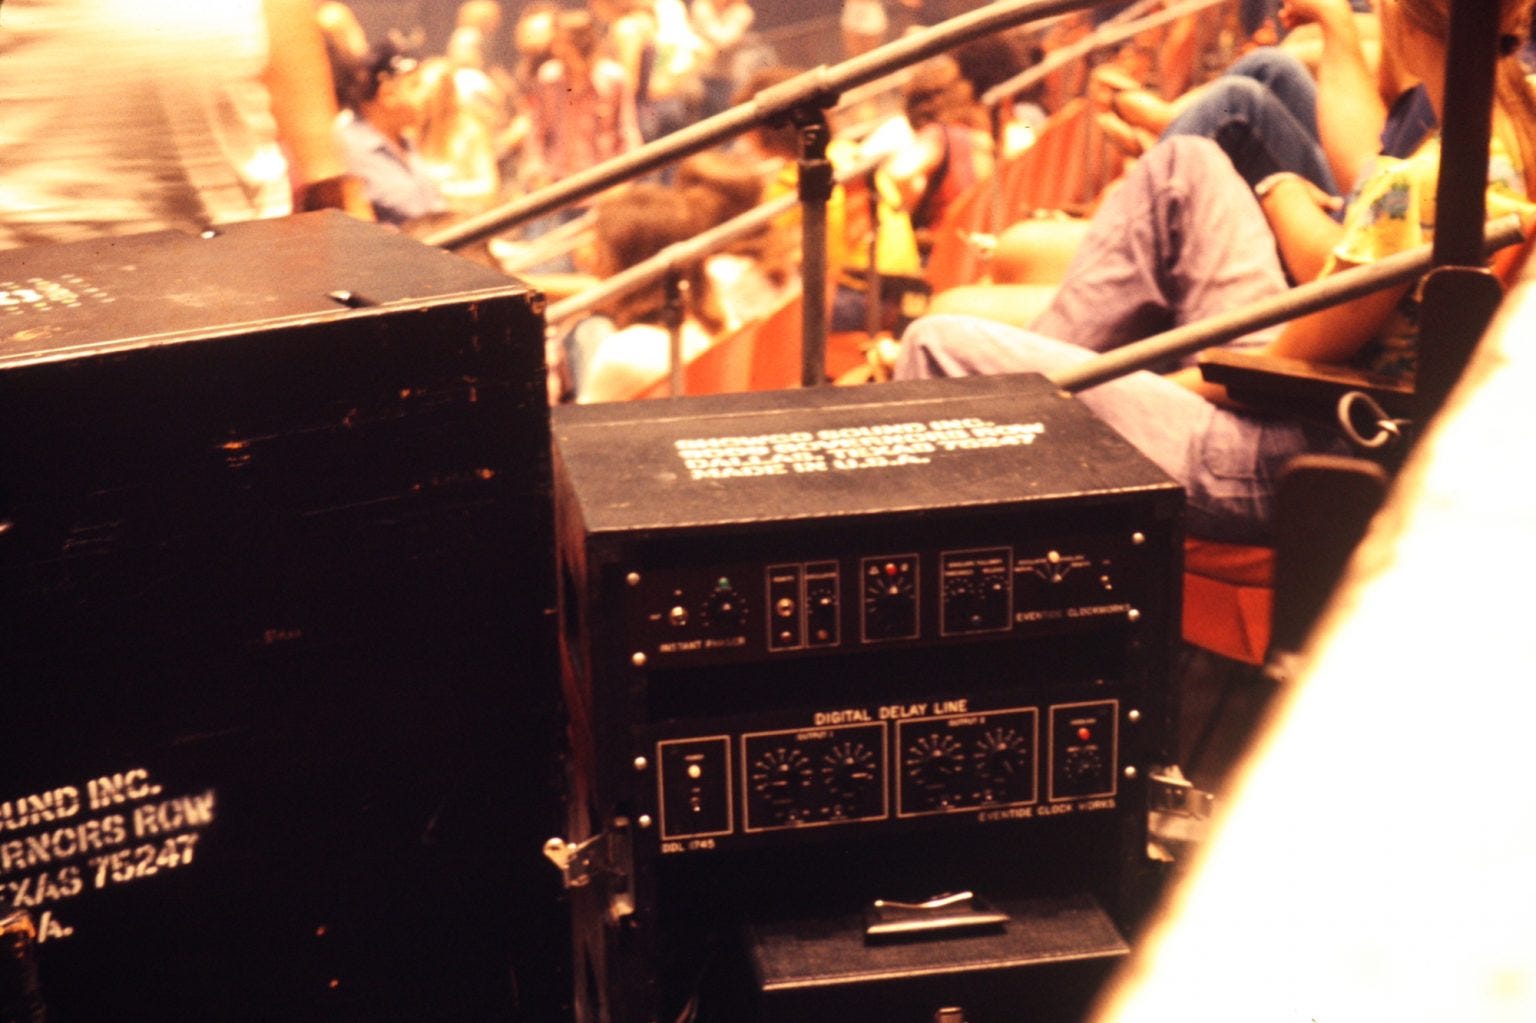
In short, the phaser was developed to make the flanging effect more commercially viable and accessible. The Instant Phaser became a popular effect in the 1970s, adopted by bands such as Jefferson Airplane, Todd Rundgren, and Led Zeppelin. Its format as a rack unit made it more convenient to transport, making it available for use in live settings, as this image from a Led Zeppelin Show demonstrates:
How It Works
But if the phaser does not rely on analog tape, but a rack unit, how does it work?
Flanging is a time-based effect, created by copying a signal and modulating the delay time of the duplicate. In contrast, phasing is a filter-based effect. A phaser works by copying a signal and passing the copy through an all-pass filter, which alters the phase of various frequencies without affecting their amplitude. Though destructive interference, this phase-shifted signal creates notches in the frequency response when it is combined with the original signal, the comb-filtering effect.
The analog Instant Phaser connected several all-pass filters in a chain, creating multiple notches in the frequency spectrum. Typically, two filters produce one notch. The Instant Phaser came with 8 filters, resulting in 4 notches. The number of all-pass filters, known as stages, varies by model, and the number of stages determines the number of notches (e.g., a 12-stage phaser creates 6 notches).
This highlights a key difference between phasers and flangers: a phaser allows control over the number of notches, which are unevenly spaced due to the phase shifts introduced by a number of all-pass filters (aka stages). In contrast, a flanger produces an endless series of equally spaced notches determined by the delay time and modulation. Therefore, phasers have a "stages" control, whereas standard flanger plug-ins typically do not have a control for the number of notches.
However, since both have a movable notch that is swept across the frequency spectrum (comb-filtering), flangers and phasers come off sounding quite similarly.
Basic Controls
Like with the chorus and flanger effects, the most basic parameters of the Phaser are identical with those of an LFO. An LFO (Low-Frequency Oscillator) in a phaser effect produces periodic changes in notch location over time by altering the center frequencies of the all-pass filters.
Rate (Hz or BPM): determines the LFO’s frequency
Depth (%): determines the LFO’s amplitude, i.e. the intensity with which the notches are changed over time
Phase (°): determines the point at which the LFO waveform starts
Mix (%): determines the ratio between the original (dry) signal and the modulated (wet) signal
In addition to the LFO parameters, the Phaser will also come with a Stages parameter, that determines the amount of all-pass filters through which the signal will pass.
Furthermore, a Phaser will have a set of advanced controls, like Feedback, Phase Offset (LFO Waveform), and Frequency, which allows you to determine the center frequency of the all-pass filter.
Ok, so I think I’ve written enough about the Phaser for now. I might return to it, since it is a really cool effect that warrants further explanation. But right now I’m quite tired and think I need to wrap this article up.
This closes my three-part mini series on modulation effect. I hope you learnt a thing or two about them‚ I surely did by researching these articles.
I’ll leave you with a couple of helpful sources if you want to delve deeper into Phasers, their history, and how they works.
Resources
50th Flashback #1: The PS 101 Instant Phaser
Ableton Live Tutorials: Exploring Ableton Live’s Phaser-Flanger