


Dissecting Live's Mixer
Breaking Down Live's Mixer into its Component Parts

I’m a big fan of technology writer Cal Newport’s Textbook Method. It is a technique he developed while a graduate student at MIT to master new knowledge. The power of this method lies in this simple idea:
describing and organizing information in your own words.
Here’s the gist: if you want to get a handle on a new, fairly complex topic, one the best ways to do this is to just write a detailed article on that topic. This method trumps just reading information, because it puts you into a state of having to retrieve and organise information (active), rather than merely reading it (passive).
Not only will writing a textbook article force you to engage with the information at hand, by putting it in your own words—it will also leave a written trail that you can reference and come back to later.
Awesome right? Is there a topic that you’ve always wanted to learn that might benefit from this method? Drop a comment below.
Currently I’m applying this Textbook method to understanding the User Interface of Ableton Live. The ultimate goal here is to know what (almost) every button does, so this isn’t something I have to figure out in the middle of a musical project. Not that there’s anything wrong with learning it as you go along—in fact that’s how most people learn. It’s just my personal preference to front-load most of it, so it’s out of the way.
With that in mind, this week, I’m covering Live’s Mixer.
First a Question: why is it called a Mixer? The term comes from the days of analog tape and recording studios. You will probably have seen one of these enormous and intimidating machines called a mixing console:
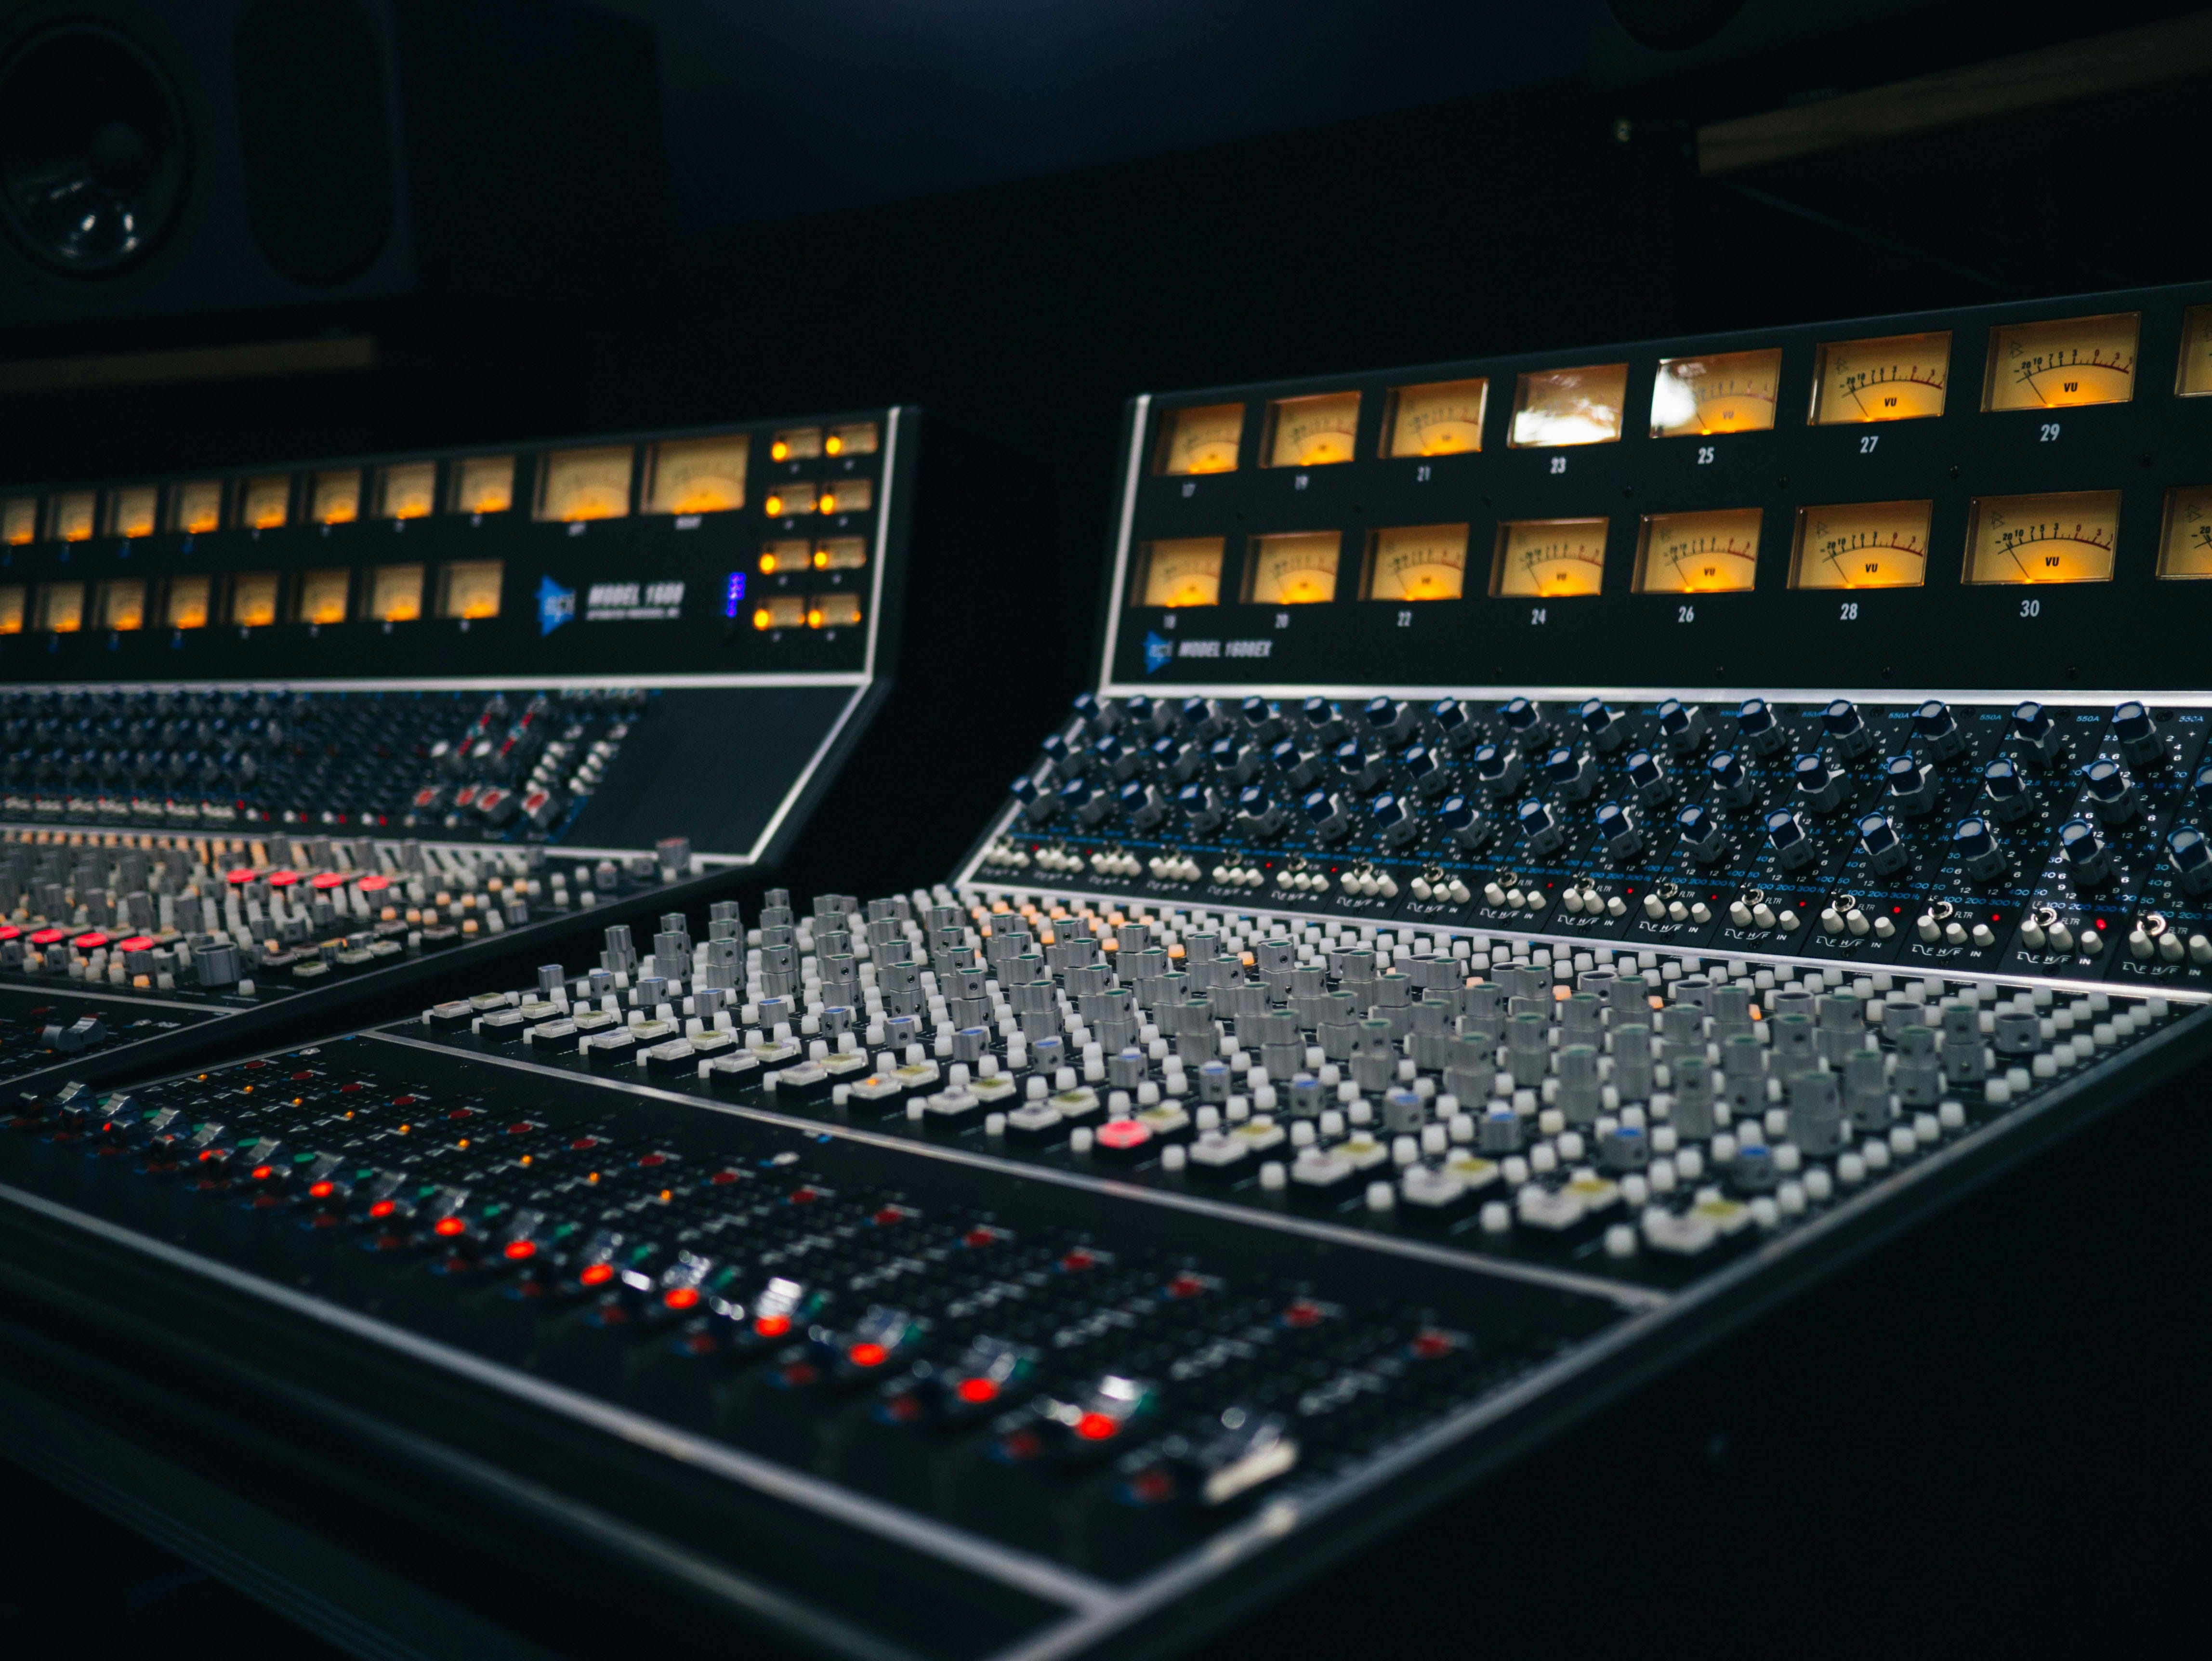
Each of these long vertical lines are called channel strips and they have faders, pan knobs, auxiliary sends, gain controls, EQs, and many more mixing functions. The mixing comes in when you’re blending different audio signals together—monitoring the relative levels, balance, and spatial placement of the tracks—and finally merging them all in a final stereo output.
Today, there isn’t really a need for giant mixing consoles like the one above. Computer technology has advanced so far in the past thirty years that mixers can be fully emulated through software.
Just like an analog mixing desk, Live has its own dedicated section called the Mixer.

Let’s break this intimidating maze of buttons and faders down into its components.
In/Out
Every track in Ableton has an Input and an Output. In/Out, or simply I/O.
Inputs refer to signal sources, i.e. where sound is coming FROM; Outputs refer to signal destinations, i.e. where the sound is being sent TO. You can see the terms “From” and “To” in the I/O section below.

The fundamental thing to understand about Live is that any track can send audio to any other track. Think of every track as having an arrow associated with it. One that is pointing to that track, and one that is pointing away from that track.
What specific inputs or outputs a track takes depends on whether it’s MIDI or Audio. Let’s cover those in a little more detail.
Audio Track I/O
Audio Tracks handle sound. They have both an Audio Input and an Audio Output.
Inputs:
External Source: Audio coming from an external instrument or device connected through an audio interface (e.g., a microphone or electric guitar).
Other Tracks: Audio from another track in your Live project, selectable via a dropdown menu.
Resampling: Records the full audio output of your project (or selected tracks) back into the current audio track.
Outputs:
Main: Sends the audio signal to the main output. Selected by default.
External Out: Routes audio to external hardware (via your audio interface), such as speakers, hardware effects, or other gear.
Audio Track: Routes the audio to another audio track within the project.
MIDI Track I/O
MIDI tracks process MIDI data, but their output is audio (after a virtual instrument processes the MIDI). The inputs differ from audio tracks, but the outputs are identical.
Inputs:
External MIDI Controller: MIDI signals from devices like Ableton Push, MIDI keyboards, or even your computer keyboard (using musical typing).
Other MIDI Tracks: MIDI data from another MIDI track within the project.
Outputs (Same as Audio Tracks):
Main: Sends the audio signal to the main output. This is selected by default.
External Out: Routes audio to external hardware (via your audio interface), such as speakers or outboard gear.
Audio Track: Routes the audio to another audio track within the project.
Monitoring
The I/O section also includes monitoring options, allowing you to hear a track’s input in different scenarios. There are three modes to choose from:
Auto: Lets you monitor the track when it’s armed for recording, but not during playback. This is your go-to option in most cases.
In: The track functions like an auxiliary track, bringing in an external signal without recording it.
Off: Disables monitoring, useful when using instruments or gear that provide their own monitoring.
Sends

Sends control how much volume is sent from a track to a “Return Track,” which is used for adding effects like reverb or delay that can be applied to multiple tracks at once.
When you add a return track, every regular (audio or MIDI) track gets a corresponding send knob (labeled A, B, C, etc.). These knobs control the amount of signal sent to each return track.
Volume and Panning

Volume: The small white triangle on the mixer is the volume fader, allowing you to adjust the volume from -∞ dB to +6 dB. The meter next to it shows the track’s audio level.
Track Panning: The semicircular knob controls the stereo position, panning from 50L (hard left) to 50R (hard right), with “C” representing the center.
Track Activator: The pink square turns the track on or off. When activated, the track is audible
The Solo (S) button mutes all other tracks except the one you solo
The Arm button enables the track for recording
Track Delay & Latency

When using CPU-intensive plugins or external hardware (e.g., synths or rack effects), there may be slight delays that cause tracks to go out of sync. Live has a feature called Delay Compensation, which automatically aligns all tracks to the slowest one.
The Keep Latency button enables or disables Live’s automatic Delay Compensation. You should leave it off unless you explicitly want to preserve any natural delays introduced by plugins or hardware.
If Delay Compensation doesn’t behave as expected, you can manually adjust track delay. Positive values delay the track, and negative values move the track ahead in time.
Crossfader

Ableton Live was designed with live performance in mind. The crossfader allows you to control the volume balance between two groups of tracks.
You can assign tracks to either A or B, and then use the crossfader to transition between them. You can even automate the crossfader for dynamic effects.
Performance Impact

This feature shows how much CPU a particular track is using. It’s helpful for identifying tracks that are putting a strain on your system, especially when your global CPU meter (in the control bar) is spiking.
Shortcuts for the Mixer
The shortcuts here really revolve around showing or hiding parts of the mixer. There aren’t a ton of shortcuts here, and by default you can’t hide/show every section, but the most important ones are listed here:
⌘⌥ + M = Show/Hide Mixer
⌘⌥ + I = Show/Hide the Mixer’s I/O Section
⌘⌥ + S = Show/Hide Sends
That’s it for this week! Next time, we’ll dive into Live’s main track types. Stay tuned!